lundi 4 juin 2012
creating a glossy icon , creation une icone brillant in photoshop
Posted on 09:27 by master tuto
creating a glossy icon , creation une icone brillant in photoshop: Bienvenue sur Connexions à l'ordinateur, notre cours et tutorial gratuit en ligne l'introduction de l'ordinateur les deux parents et les enfants les rudiments de la PC et Mac systèmes informatiques.
creating a glossy icon , creation une icone brillant in photoshop
 In this tutorial you will going to learn how to create a grossy effect in icon with photoshop. :)
Then create a circle with Elipse Tool ( U ) and holding shift key.

Reado More ...
Ok , so now apply same blending option to the layer:
Gradient Overlay
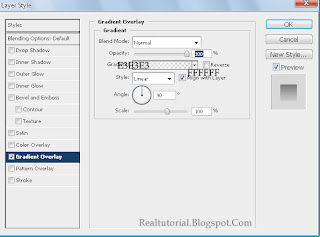
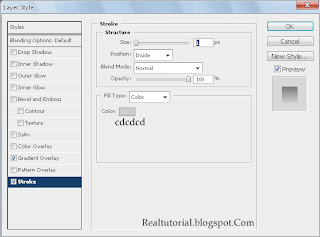

Now apply blending option to this second circle layer:
Inner Glow

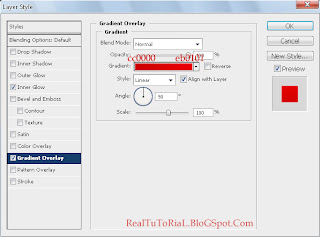
Stroke:

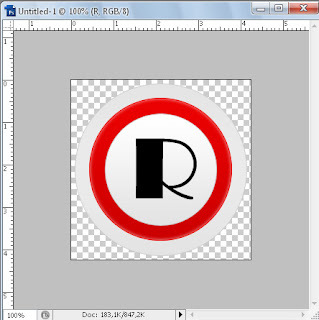
It’s time to add our final circle just we did with the previous ones, but we’ll create the last one inside the red so it looks something like this:
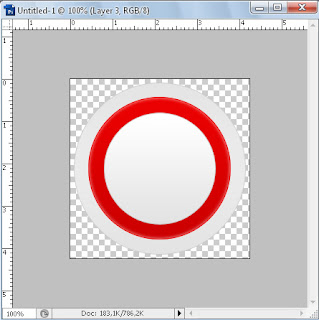
Now we’ll going to add some text inside the circle, draw it in the center of the circle just as i did:
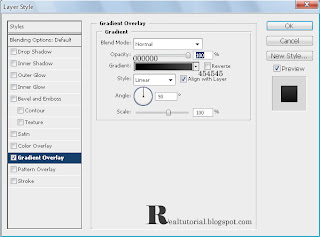
*Gradient Overlay
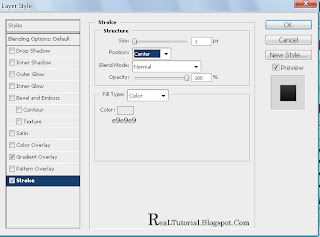
*Stroke


Now you have a great glossy icon is ready.
If you need help with the tutorial, you can leave a comment using the link just below.
creating a glossy icon , creation une icone brillant in photoshop
Inscription à :
Publier les commentaires (Atom)
No Response to "creating a glossy icon , creation une icone brillant in photoshop"
Leave A Reply